As a custom packaging supplier, this guide shares practical know-how for food packaging box customization. It covers material selection, step-by-step production, safety rules, category-specific solutions, pro tips, and cost-saving alternatives to help master customization
1. Materials for Food Packaging Boxes
Choosing the right materials is the first step in making high-quality food packaging boxes, as it directly affects the box’s safety, durability, and print effect.
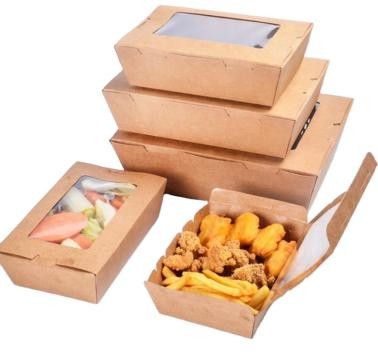
For food packaging, common materials include food-grade cardboard, kraft paper, and plastic films. Food-grade cardboard is a top choice for most dry foods like cookies or cereals—it’s thick enough to support the product, has good printability for logos and designs, and is easy to fold into different shapes.
Kraft paper, known for its eco-friendly appeal, works well for organic or artisanal foods; it’s sturdy, recyclable, and gives a natural, rustic look that resonates with health-conscious consumers.
Plastic films, such as PET or PE, are often used as liners inside cardboard boxes for moisture-sensitive foods like candies or baked goods, as they prevent water absorption and keep products fresh.
When selecting materials, suppliers should also consider the product’s weight and storage needs—heavier items may require thicker cardboard, while frozen foods need materials that resist cracking at low temperatures.
2. Step-by-Step Guide to Making Food Packaging Boxes
Making food packaging boxes involves a clear, sequential process to ensure consistency and quality.
(1) start with design finalization: confirm the box’s size, shape (like folding cartons or rigid boxes), and print elements with the client, then create a digital template for production.
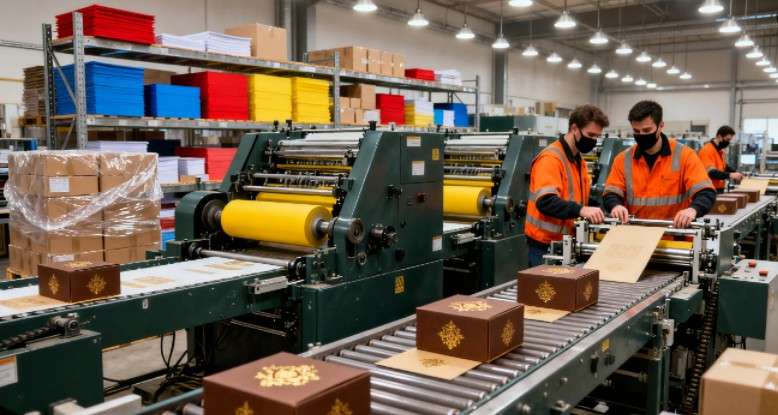
(2) material cutting: use a die-cutting machine to cut the selected material (such as cardboard) into the shape of the box template—this step requires precision to ensure all edges align perfectly.
(3) printing: apply the design onto the cut material using suitable techniques; for example, use offset printing for sharp, colorful logos on cardboard, or flexographic printing for simpler designs on kraft paper.
(4) After printing, fold the cut material along pre-scored lines—this creates the basic structure of the box, like folding up the sides and securing the bottom flaps. Then, assembly: use food-safe adhesives to seal the flaps or use interlocking designs for boxes that don’t need glue.
(5) Finally, quality checks: inspect each box for printing errors, uneven folds, or weak seals before packaging them for delivery. Following these steps helps avoid mistakes and ensures each box meets client requirements.
3. Safety & Sanitary Rules for Food Packaging Boxes
Safety and sanitation are non-negotiable for food packaging boxes, as they directly contact food and affect consumer health.
First, all materials must meet food-grade standards—avoid materials with toxic chemicals or coatings that could migrate into food, such as non-food-grade inks or adhesives. Suppliers should choose inks labeled “food-safe” (like soy-based inks) and adhesives that are odorless and non-toxic.
Second, maintain clean production environments: factories should have dust-free workshops, regular equipment cleaning schedules, and staff should wear gloves and hairnets to prevent contamination.
Third, prevent cross-contamination: separate production lines for food packaging from those for non-food items, and store materials in dry, clean areas away from pests or chemicals.
Fourth, label boxes correctly: include necessary safety information, such as “food contact safe” labels or recycling symbols, to help clients and consumers recognize compliant packaging. Regularly testing materials for safety—like checking for heavy metal content in inks—also helps uphold these rules and build trust with clients.
4. Custom Food Packaging Solutions for Different Food Categories
Different food categories have unique needs, so custom packaging solutions must be tailored to these requirements.
(1) For baked goods like cakes or pastries, the key is to prevent crushing and maintain freshness—use rigid cardboard boxes with internal dividers to separate items, and add a PE liner to keep moisture in (but not too much, to avoid sogginess).

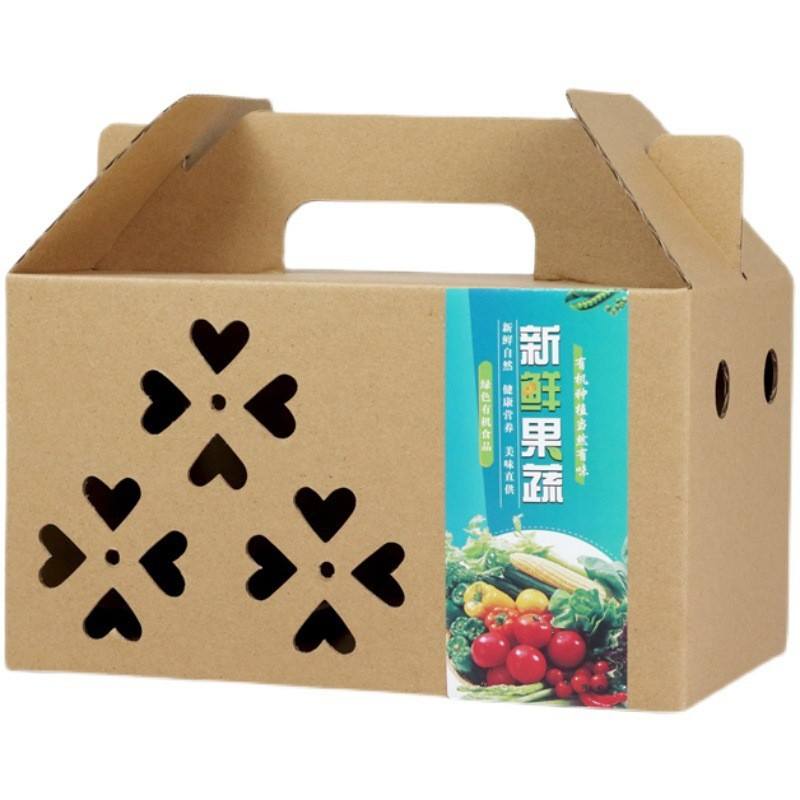
(2) For products like fruits or vegetables, breathable packaging is essential; opt for kraft paper boxes with small ventilation holes or combine cardboard with mesh panels to allow air circulation, which slows down spoilage.
(3) For liquid or semi-liquid foods like sauces or jams, leak-proof designs are a must—use cardboard boxes with plastic liners that have heat-sealed edges, and reinforce the bottom of the box to handle the weight of the product.
(4) For snacks like chips or nuts, lightweight but durable cardboard is ideal; add a thin aluminum foil layer inside to block light and oxygen, which preserves crunchiness.
By understanding each food category’s needs, suppliers can offer custom solutions that not only protect the product but also enhance its appeal on store shelves.
5. Extra Tips for Creating Food Packaging Boxes
Beyond the basic steps, a few extra tips can elevate the quality and usability of food packaging boxes.
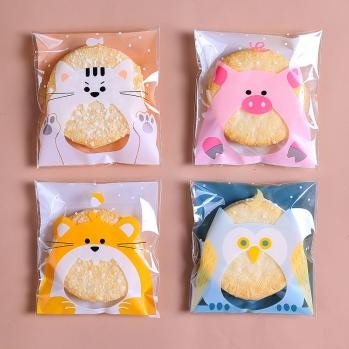
First, prioritize user-friendliness: design boxes that are easy to open—for example, add tear strips instead of requiring scissors, or use fold-top lids that stay closed but are simple to flip open. This improves the consumer experience, especially for on-the-go snacks.
Second, consider sustainability: even if clients don’t ask for it, suggest eco-friendly add-ons like recyclable stickers or compostable liners—this aligns with current consumer trends and helps clients stand out.
Third, test the box’s durability before mass production: simulate shipping and handling by stacking boxes or dropping them lightly to check for damage; adjust the material thickness if needed.
Fourth, optimize print placement: avoid printing important logos or text near fold lines, as this can cause the design to crack or become unreadable.
Finally, communicate closely with clients during the process—share samples early to get feedback on print color and box shape, which reduces the need for last-minute changes.
6. Cost-Effective Alternatives for Personalized Food Packaging Boxes
Personalized food packaging doesn’t have to be expensive—suppliers can offer cost-effective alternatives that still meet clients’ branding needs.
On the one hand, use simplified printing techniques: instead of full-color offset printing (which is costly for small orders), suggest digital printing for short runs—it has lower setup fees and still produces clear designs. For clients wanting a premium look on a budget, use spot UV printing (adding a shiny layer to key elements like logos) instead of full UV coating.
On the other hand, opt for standard sizes with small custom tweaks: standard box sizes are cheaper to produce than fully custom sizes, but suppliers can add small personalized touches—like custom stickers with the client’s logo or unique flap designs—to make the packaging feel special.
Besides, use mixed materials: combine affordable materials like kraft paper with a small amount of premium material (such as a metallic foil accent) to create a high-end look without the high cost.
Finally, offer bulk order discounts: encourage clients to order larger quantities by providing tiered pricing—this reduces per-unit costs for both the client and the supplier. These alternatives help clients stay within budget while still getting personalized packaging that supports their brand.
We can provide custom paper box, if you have any needs con contact us freely.
Post time: Oct-20-2025